
Printers, Printer Parts, & Printer Supplies
New, Surplus and Refurbished Printers - Industrial and Commercial printers, printer parts, supplies and accessories since 1985.
-
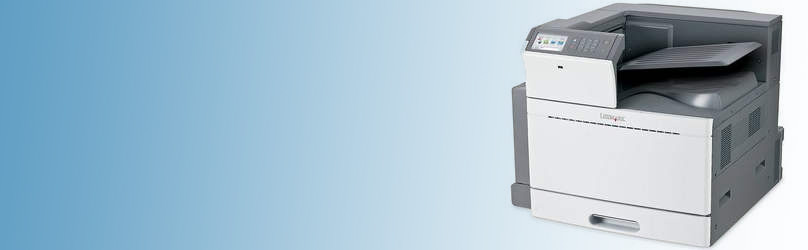
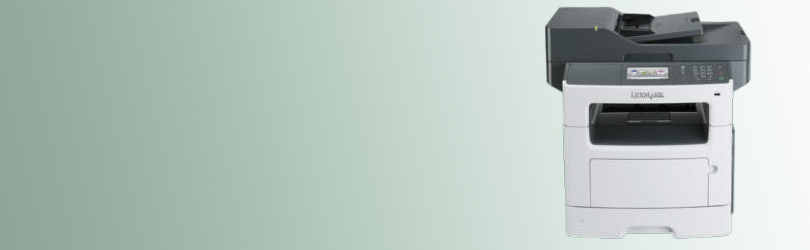
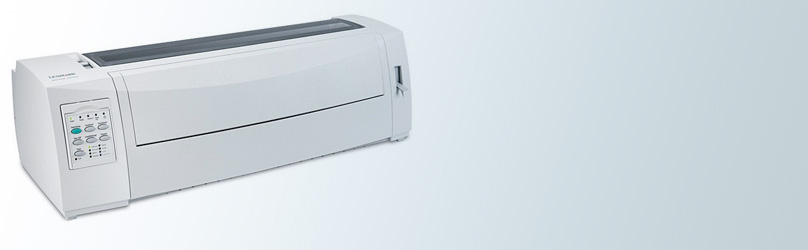
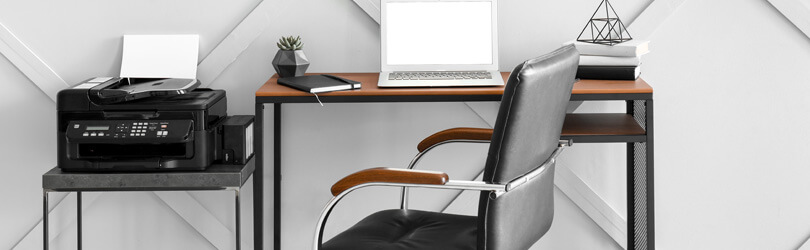
PrintersLeading supplier of commercial & industrial printers, new & refurbished
-
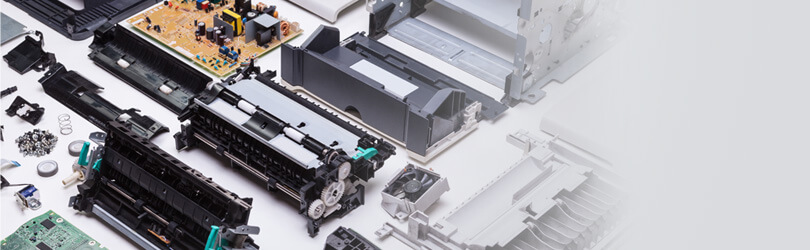
Printer partsLarge inventory of quality new & refurbished parts for printers, MFPs…
-
Printer connectivityEthernet, Twinax 5250, Coax 3270, IPDS / AFP, Protocol conversions…
-
Printer supplies & consumablesIncluding toner, printheads, ribbons, rollers, and much more
-
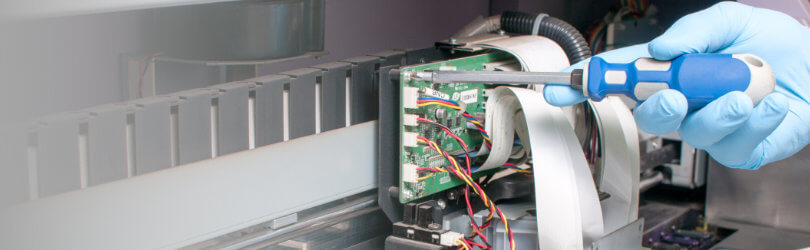
Printer support, repair & maintenanceIncluding Managed Print services, Authorized Warranty repair, and Depot repair.


Latest News
In stock now, on national back-order everywhere:
Color Laser Printer: C3426DW | Monochrome Laser Printer: M3250 MS431DN MS823DN |
Color Multifunction Laser Printer: MC2640ADWE MC3224i MC3326ADWE MC3326i | Multifunction Monochrome Laser MX622ADE XM5263 |